Overclocking the A1060 Sidecar (UNDER CONSTRUCTION)
The Commodore A1060 Sidecar contains an Intel 8088 CPU at 4.7MHz. No 'Turbo' facility was provided, so it was really just a bog standard PC-XT. Unlike the later A2088 Bridgeboard, the Sidecar does not have a dedicated 'chipset' that can support a turbo function. It is more like the very first PC-XTs that use TTL logic, though Commodore did use a few PLA type chips to reduce complexity.
Starting out
Before you reach for the soldering iron, there are a few ways to start gaining speed. Firstly, if you are using a PC hard disk emulated on the Amiga's hard drive, you can greatly improve performance by allocating a much larger number of buffers for the Amiga DOS partition housing it. 200 is a good amount to try, though feel free to go higher if you have plenty of Amiga RAM. You can edit this value in HDtoolbox, or by using the 'Addbuffers' command in startup-sequence. For example if your emulated PC hard drive file is located in DH1:, you add this line to startup-sequence (without quotes): "Addbuffers dh1: 200".
The next thing to do is to reduce the amount of CPU time used to refresh the RAMs. Early PCs were designed at a time when dynamic RAMs had to be refreshed about every 15nS. More modern memory can go for a lot longer before needing a refresh. This timing can be changed with a DOS program called calcqf, which can easily be found on any public domain or shareware site. This MS-DOS utility will calculate the best refresh rate and generate an executable file called "qfresh.com" which can be executed in autoexec.bat. Refer to the documentation with the program. Qfresh will give around 5-6% extra speed.
Finally, using real 8 bit ISA VGA cards and IDE controllers are always faster than emulating them with the inbuilt Amiga display and hard disk emulation. An example of a modern, new build ISA IDE card is the Monotech XT-IDE Deluxe. It will support the use of a compact flash card and has an extended BIOS built in that will support large drives. A clip on RAM expansion can also be added to this, taking the RAM to 640K and also adding RAM to the high memory area.
Upgrading the CPU.
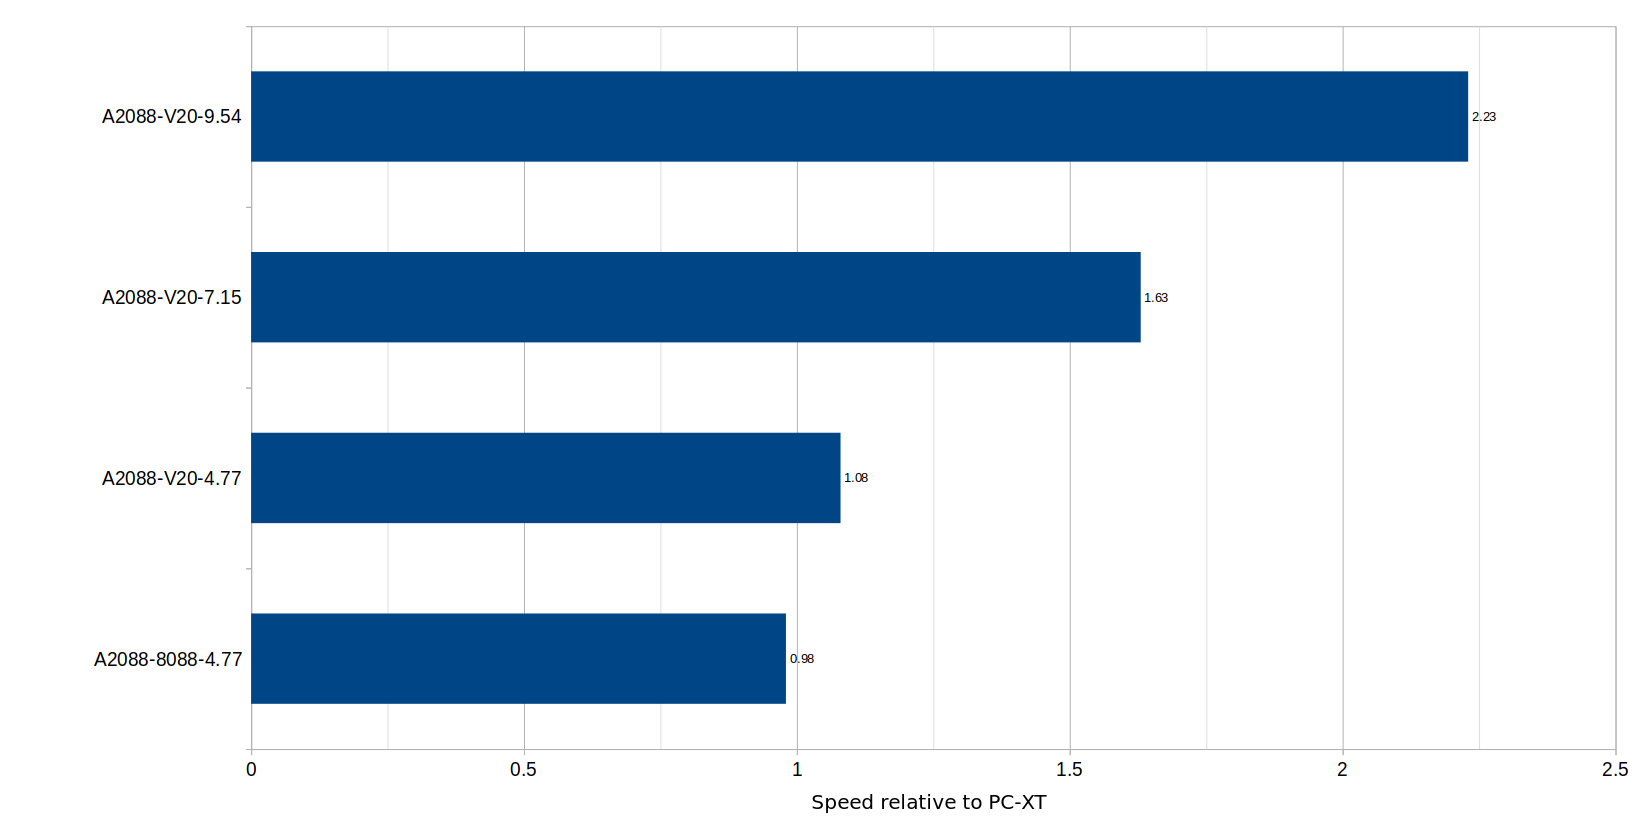
Speed can be improved by about 20% by replacing the original 8088 CPU with an NEC V20. The V20 simply drops in with no other modification required. It is available in faster versions, and I advise getting one of those so that you can add a 'turbo' mode as described below.
Adding a 'Turbo' function.
Like the very earliest PC-XTs, the Sidecar has no provision to run at 'turbo' speeds. It is fixed at 4.77MHz. A simple DIY accelerator card originally for the IBM 5150 was developed in 1985 called 'PC Sprint'. Recently it was revived and PCBs for it are now available again. Updated information can be found here if you want to find out more about how it works and what is needed to make one.
Fitting the PC-Sprint into the Sidecar.
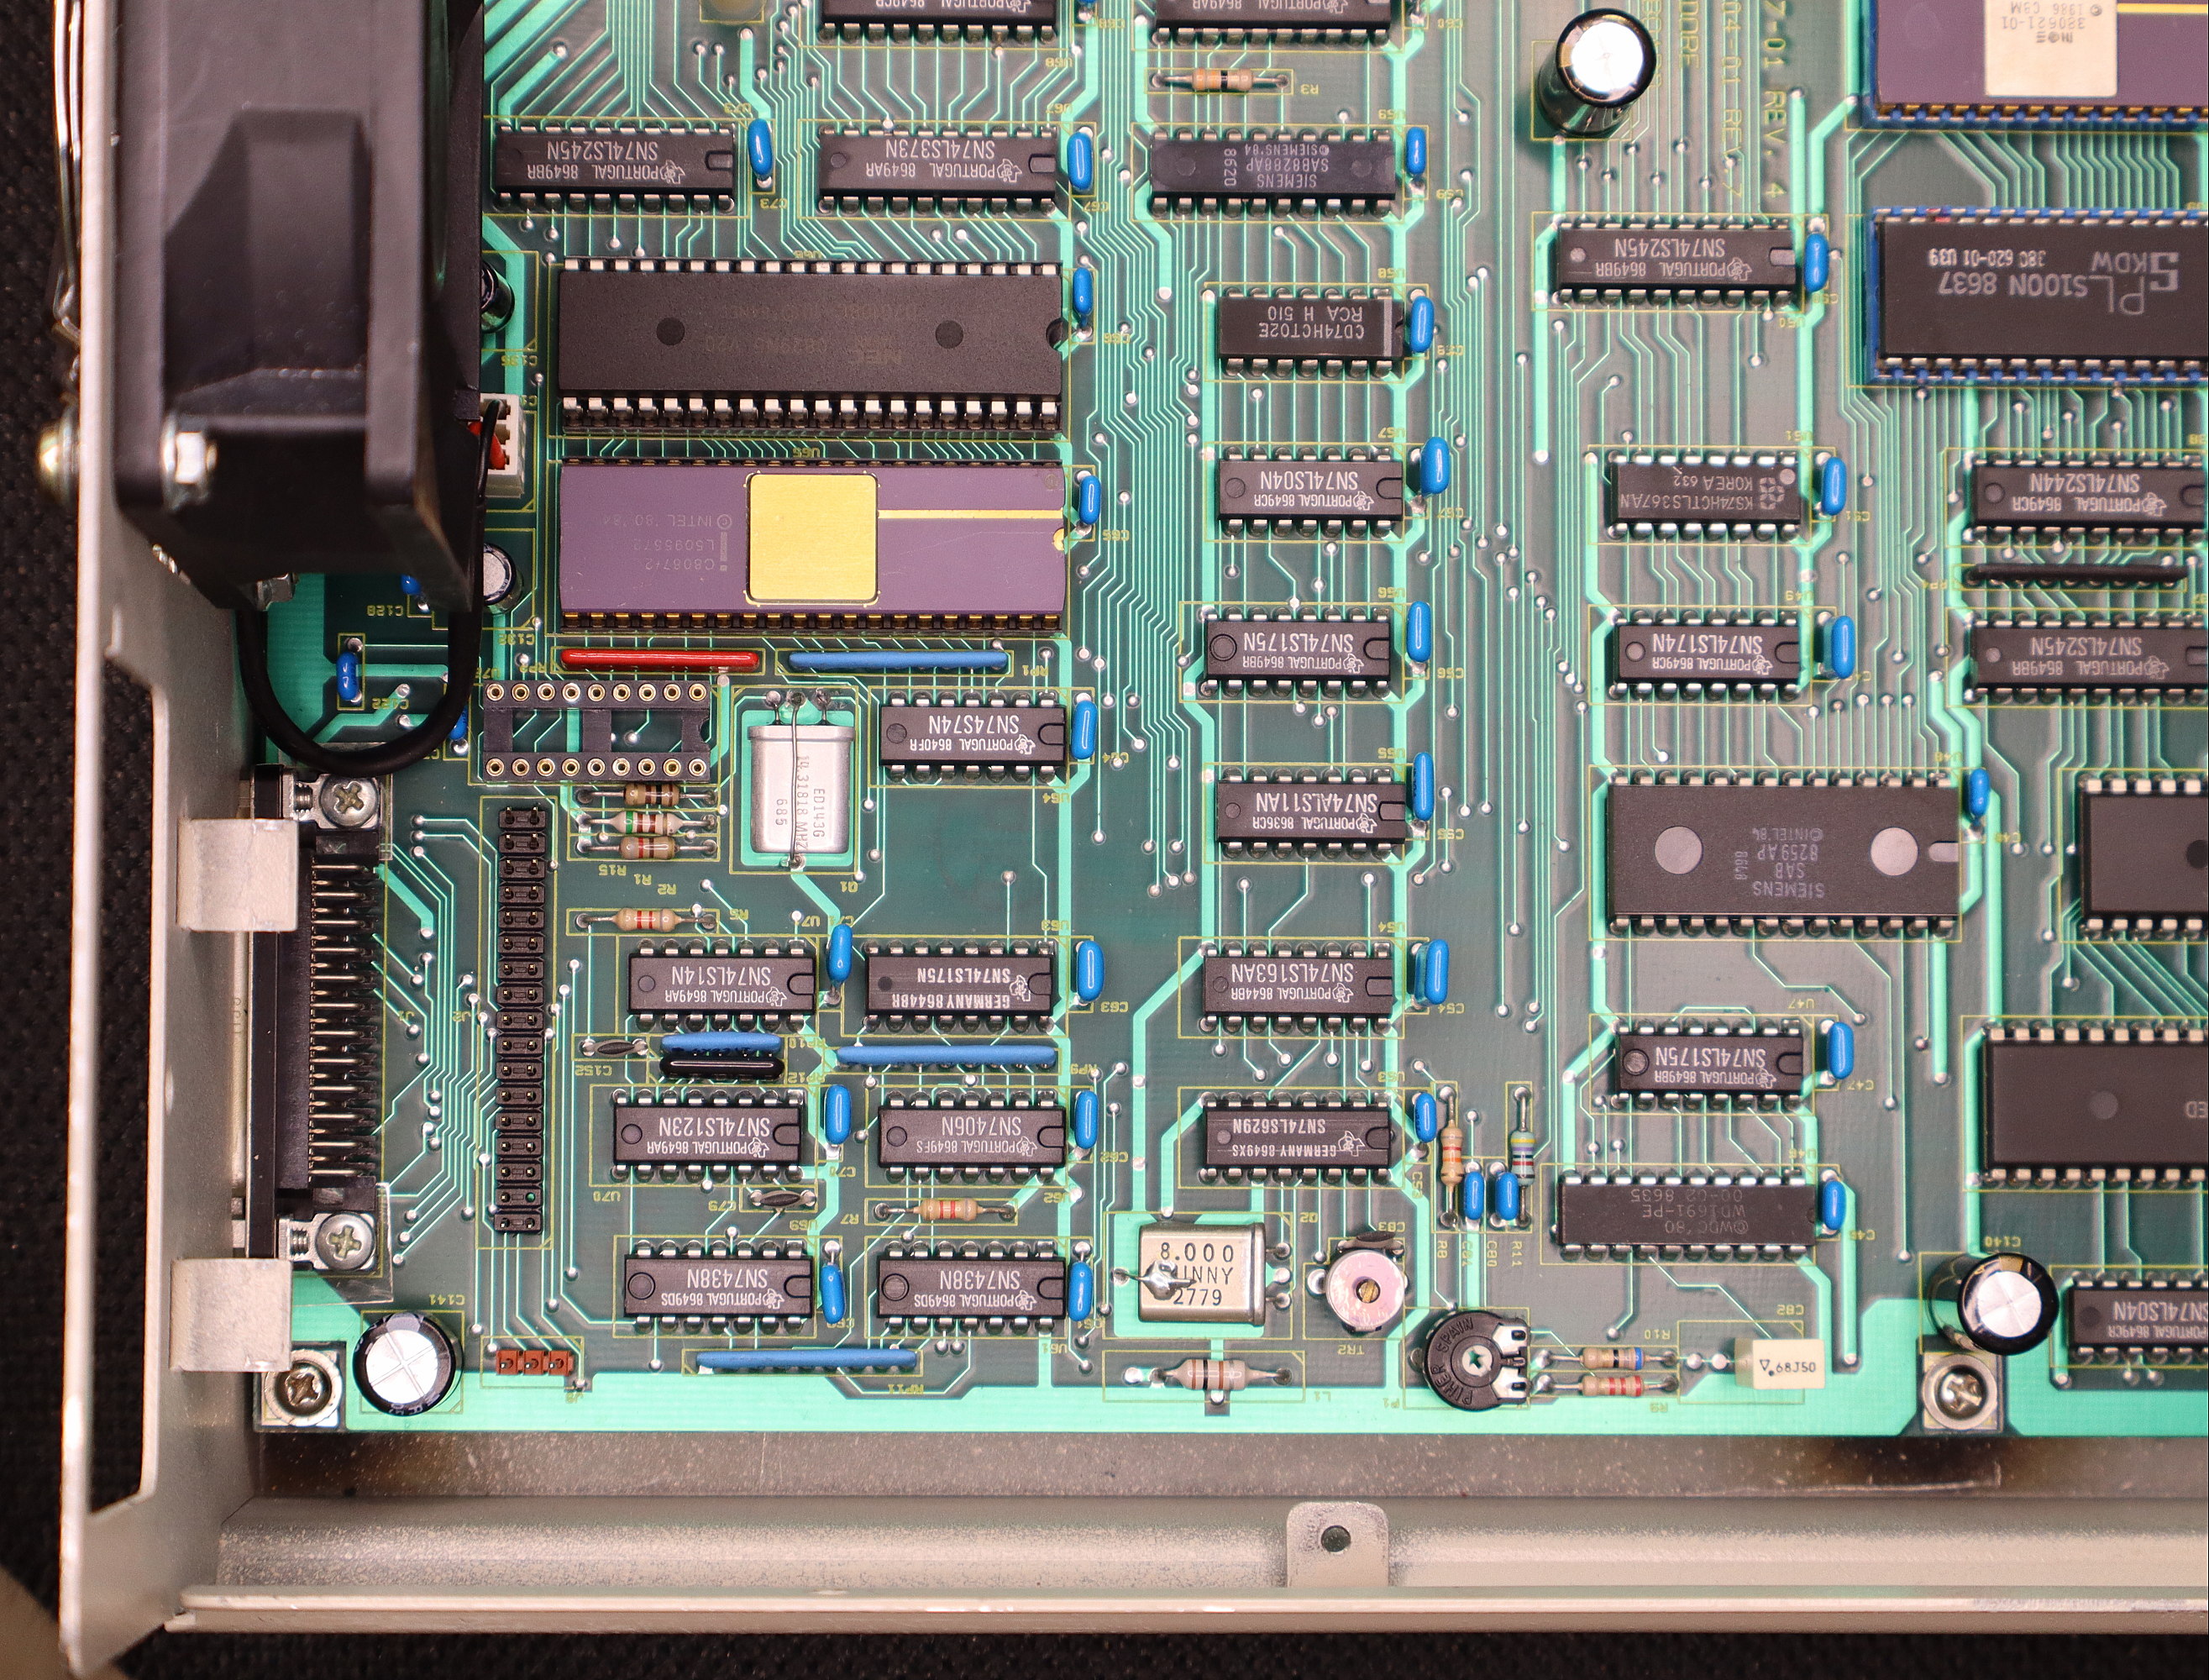
As originally intended, fitting a PC-Sprint required the clock generator chip U72, an 8284A to be removed from the PC's motherboard and replaced by a socket as seen below.
The PC-Sprint was then intended to be plugged into the new socket. Unfortunately the physical layout of the Sidecar prohibits this - The PC-Sprint PCB will foul the Sidecar's floppy drive connector, and will also foul the rear of the case. There is an alternative design called the "Skinny Sprint" that is built on a long thin PCB, but it also fouls the rear of the case.
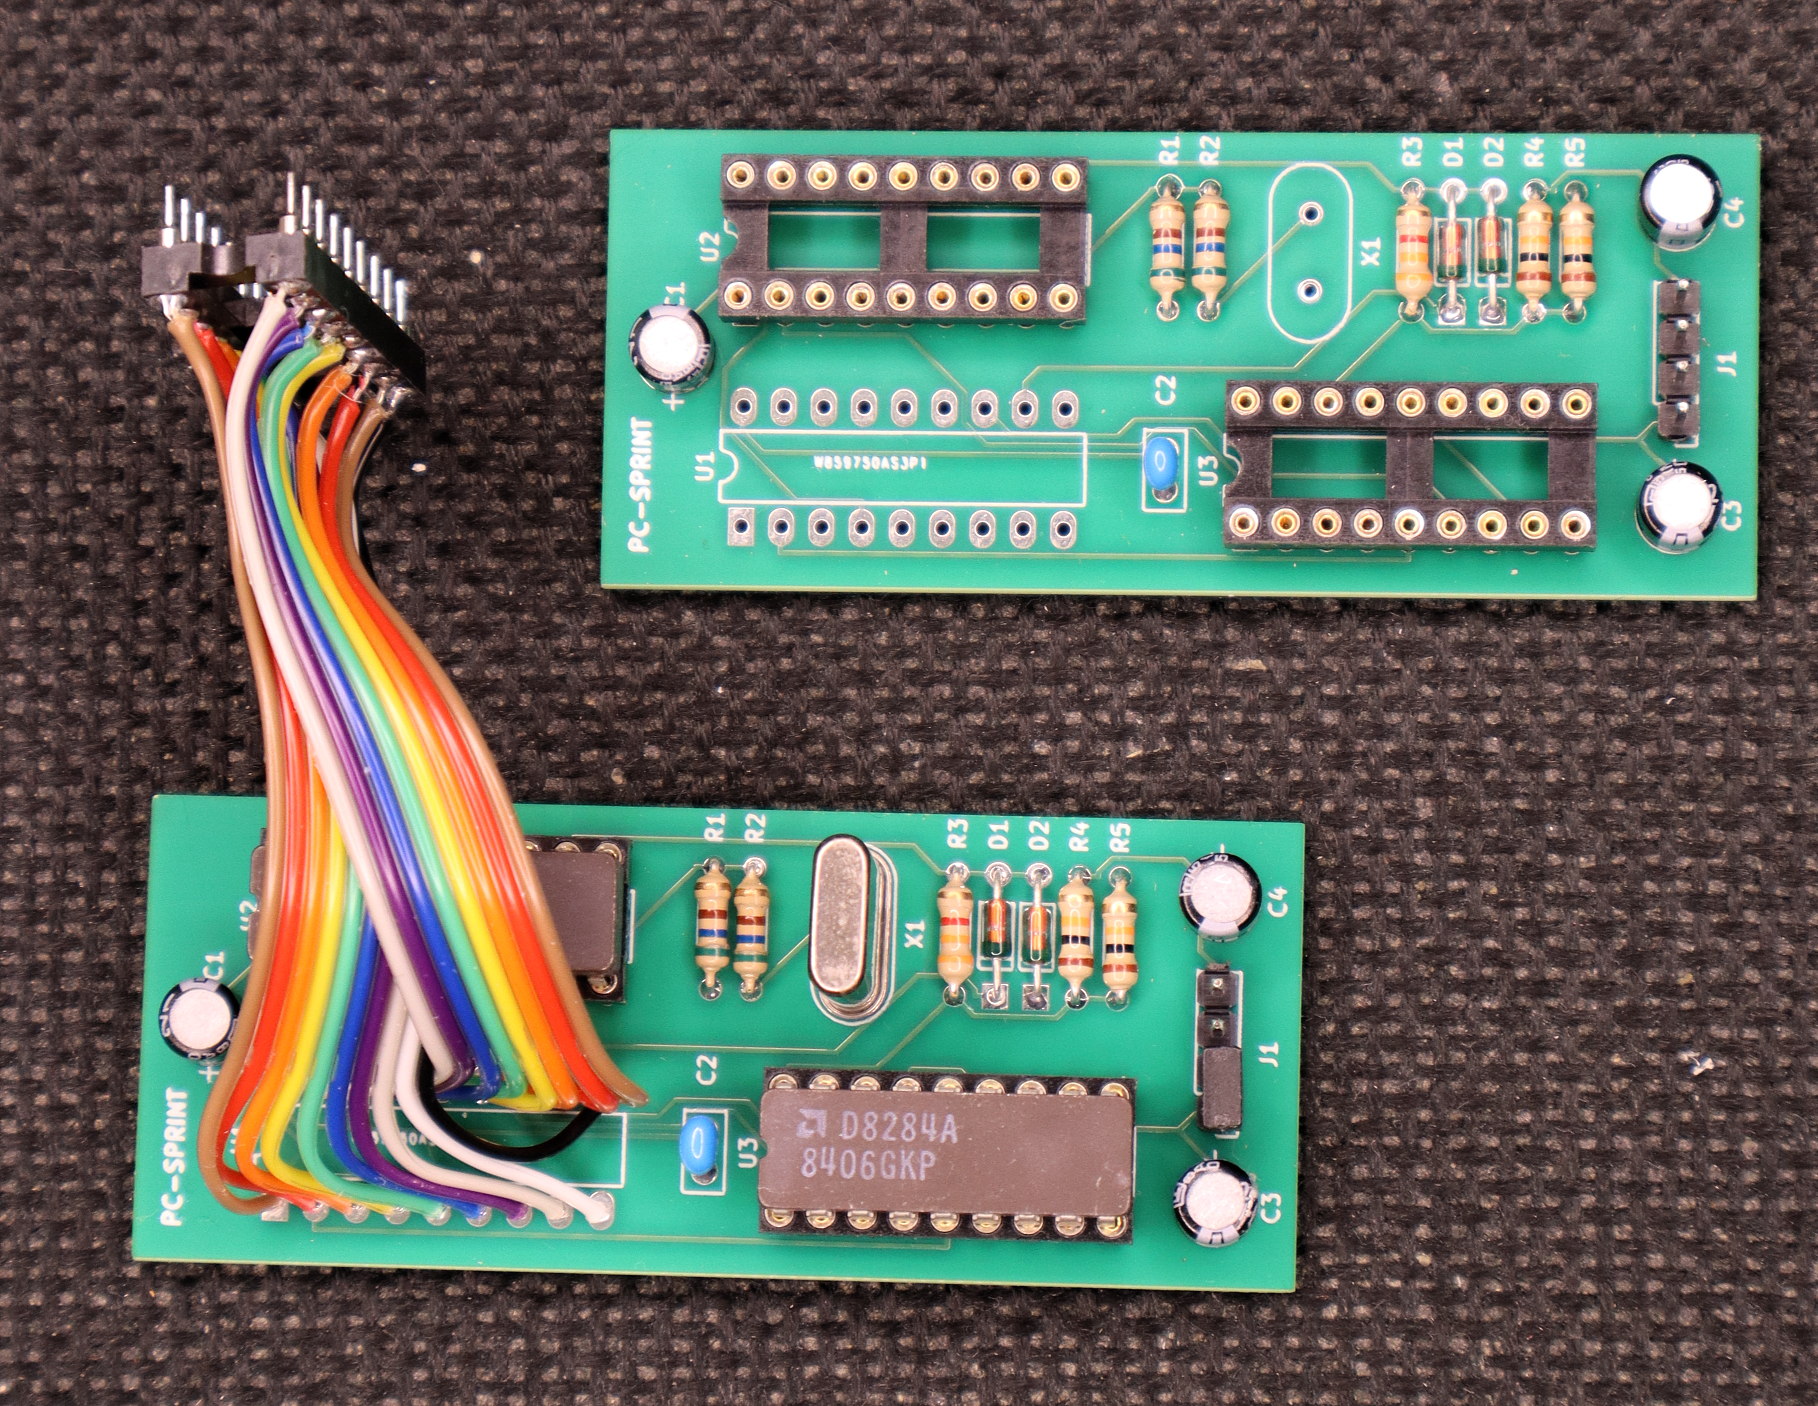
Fortunately there is just enough room on the inside of the case between the motherboard and the power supply chassis for the PC-Sprint to be mounted. A short cable can then be used to interface the PC-Sprint to the previously added socket on the Sidecar motherboard. Below is a view of a PC-Sprint modified with a cable with 18 pin plug on the other end, suitable for plugging into the IC socket. Cable length is approximately 8cm. Another partially completed PC-Sprint is also shown.
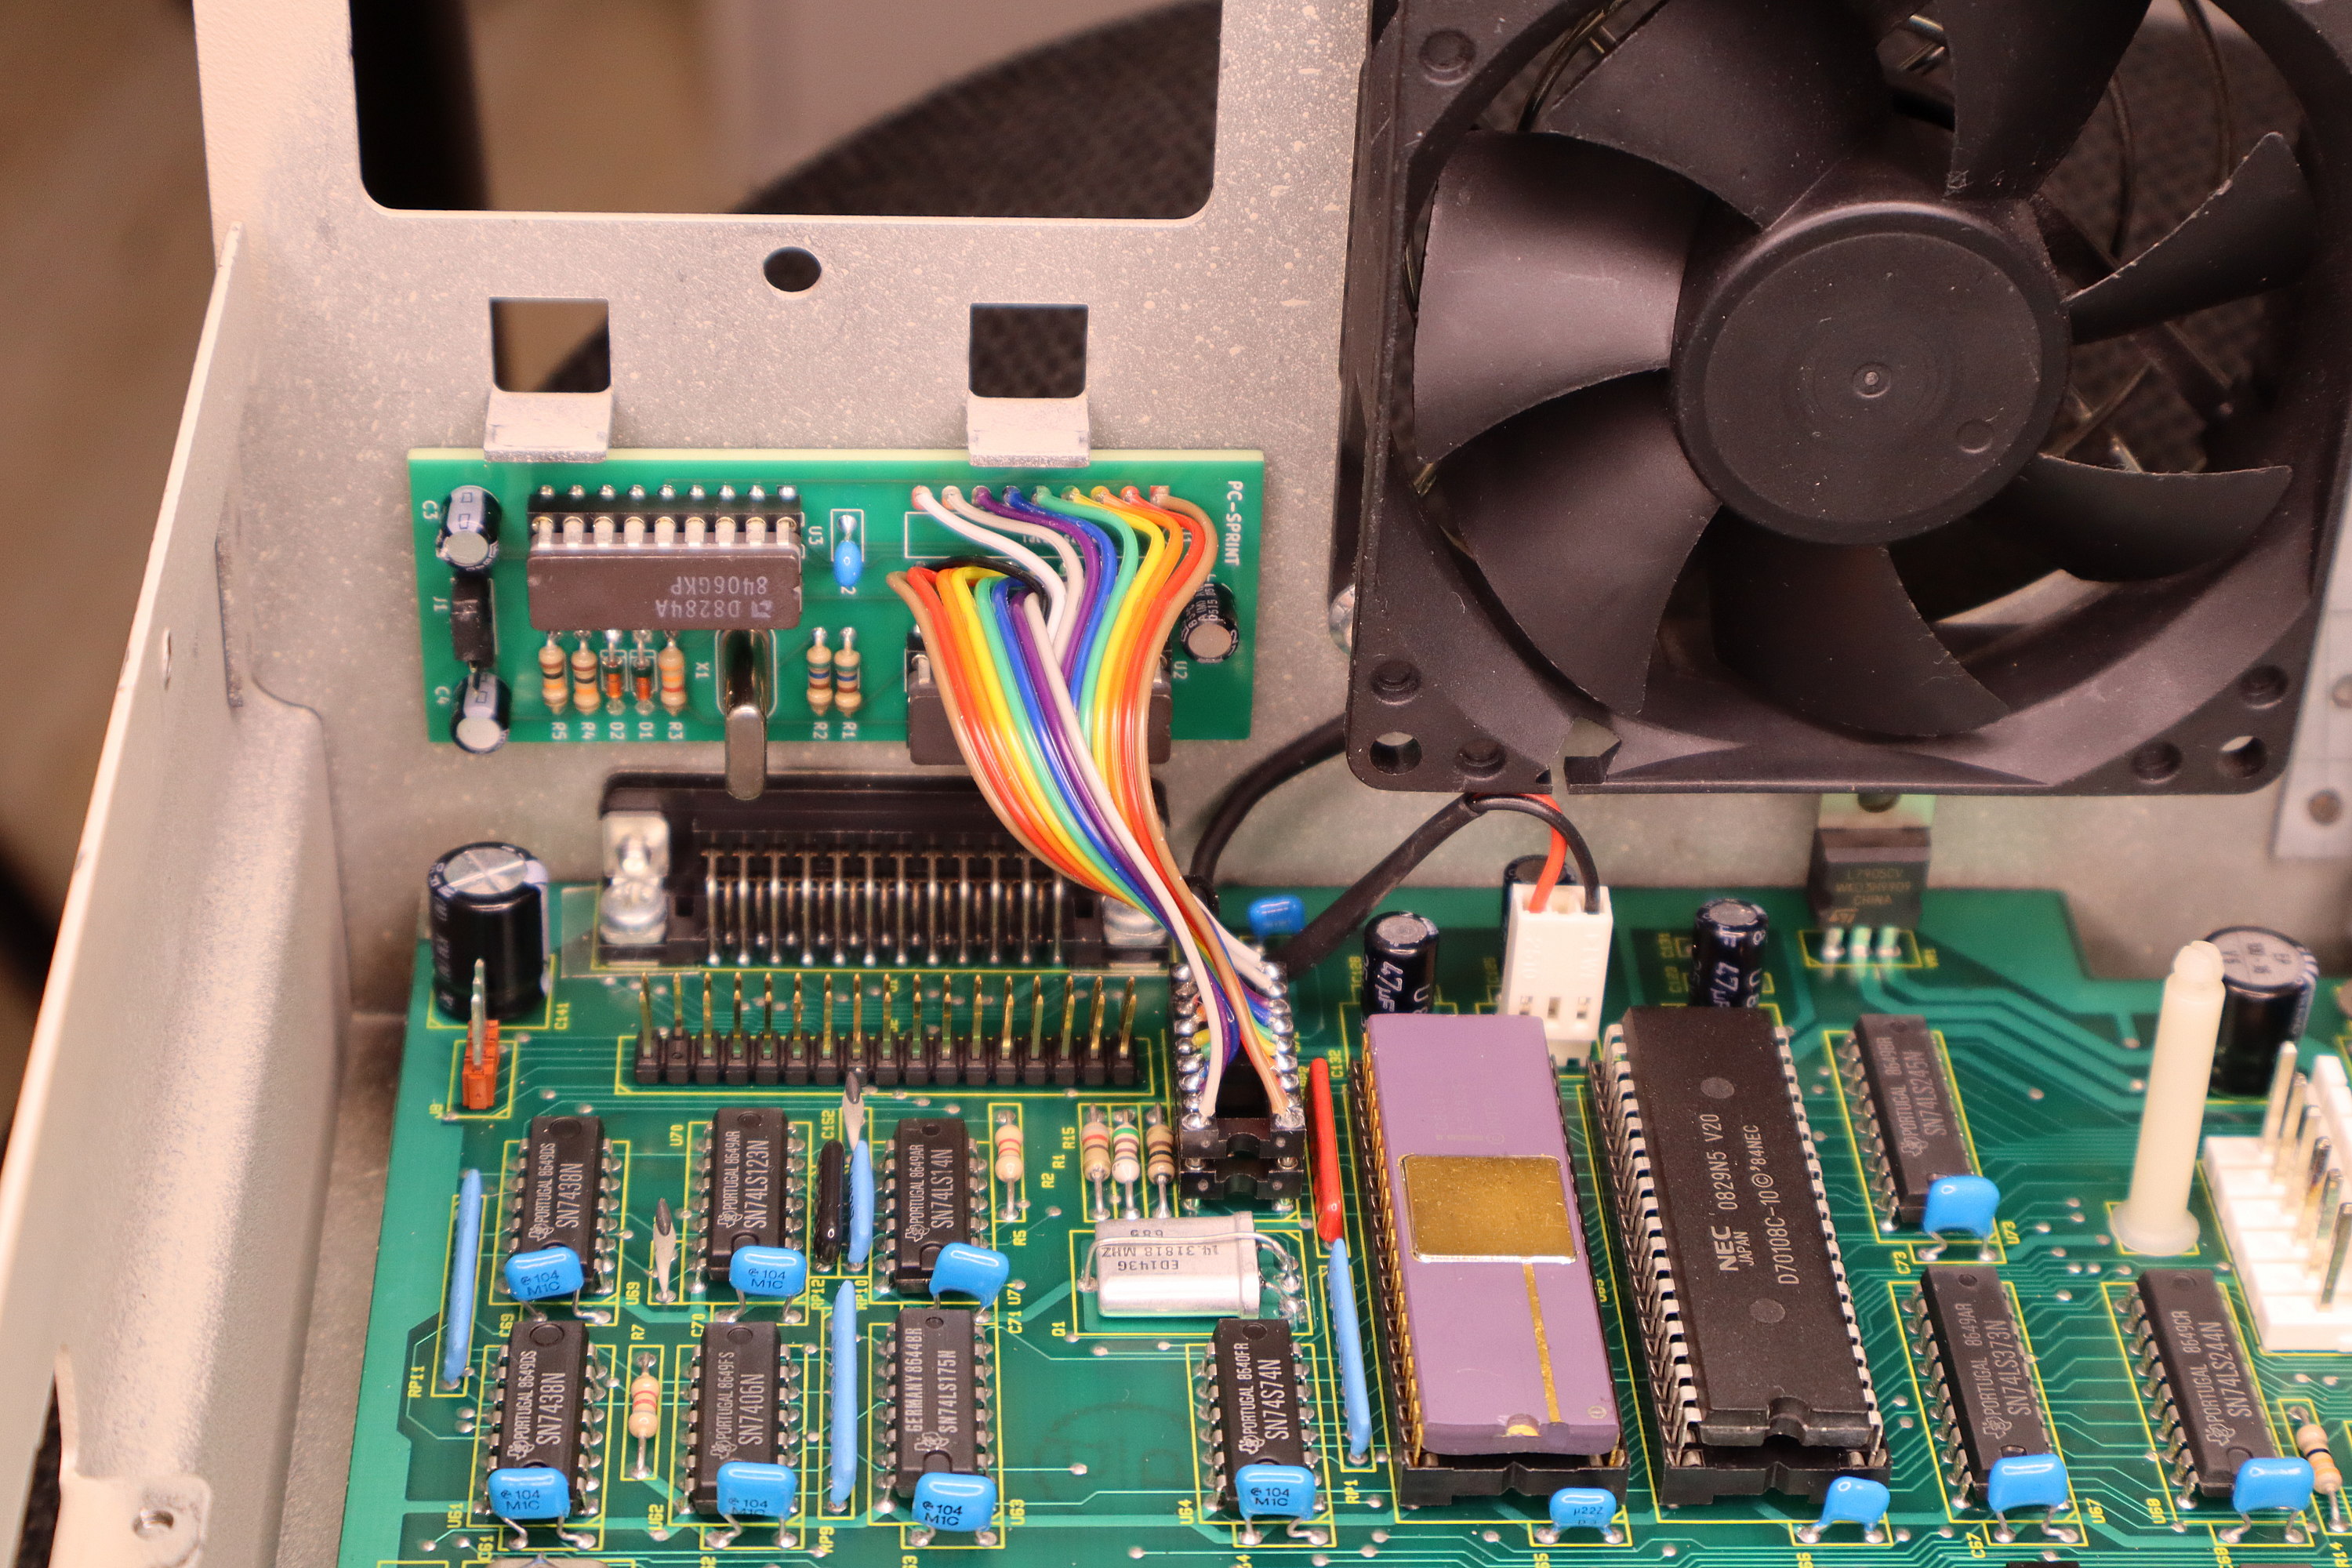
The image below shows the PC-Sprint attached to the rear of the case, using some double side tape. Note that it is positioned under the power supply mounting tabs. Also note that I had replaced the noisy original 230V fan with a standard 12V one, with a 12V header attached to the motherboard beneath it.
A four pin header is provided on the PC-Sprint that allows use of a reset botton and a switch to enable or disable the turbo function. These can be mounted in any convenient location. In my case I'm using a 3.5" floppy drive in my Sidecar, so I mounted them into the front of the 5.25 - 3.5 drive bay adaptor i'm using. This has the advantage of not modifying the case on the Sidecar. Another suitable place is on an unused ISA bus slot cover.
Results.
PC-Sprint works by dividing the output from a crystal by three to generate the new, higher clock frequency. I started with a 27 MHz crystal, giving a CPU clock frequency of 9 MHz. While this was in the range of the CPU and FPU I had fitted, the Sidecar did not like it. Speed was actually very slow, the benchmark program 'Checkit' reported only 3 MHz. Next I tried a 25 MHz crystal, giving 8.3 MHz. This time the speed was improved, and Checkit reported 8.3 MHz. Unfortunately the system was a bit flaky. There was a low whistle coming from the Sidecar's piezo buzzer, and response to the keyboard was a bit erratic. The next crystal I tried was 24 MHz, giving a system clock of 8 MHz. This was successful, and Checkit reported 8MHz and the system was exactly twice as fast as a standard 4.77 MHz PC-XT. Part of this performance improvement as also due to using a V20 CPU and running calcqf to reduce RAM refresh overheads. I was now able to run Windows 3.0 at 800x600 and 256 colours at a tolerable though slow speed.
Using an 8087 FPU.
If you have an 8087 FPU on your Bridgeboard, you will need to use the version with the correct clock speed rating. Intel made these in three speed grades. The D8087 (without any dash number) is rated at 5MHz, and is only suitable for the Sidecar running at the original 4.47 MHz. The C8087-2 or D8087-2 is rated at 8MHz, so it will run at either 4.77 MHz or 8 MHz. The D8087-1 is rated at 10 MHz, though the Sidecar won't run at this speed..
Back to main Amiga page.
Introduced 6th April 2026. Version 1.0.